
Wishing all my ghosts and goblins a very Happy Hallowe’en! 🙂 Have a fun and safe time during fright night.
In case you’re still mulling over what design to paint your nails with, here are just a few of the Hallowe’en nail-art looks I’ve done over the years and shared on the blog.
All of them (except the top left) have step-by-step tutorials, and you’ll be able to see all the colours I used. Links to each are below the collage photo.

You can browse through the Nail Art category on my blog, which contains many more designs not shown here, or if you want to see the individual posts for the specific designs shown in the above image, click on any of the links below:
- Skittle Hallowe’en Nail Art
- Flying Witch Nail Art
- Frankenstein’s Monster Nail Art
- Pirate Nail Art
- Bride of Frankenstein Nail Art
- Skull Nail Art (Neon version / Black and white version)
- Candy Corn Nail Art
- Mummy Nail Art
Feel free to tag me on social media, and show me what you’re wearing for Hallowe’en! 🙂 I’d love to see!
P.S. In case you missed it, check out my latest Canadian giveaway. Enter by November 13, 2015 at 11:59 pm EST for your chance to win 12 Hard Candy nail polishes!

 I spy with my Hallowe’en bloodshot eyes an easy nail design that you can finish in a jiffy!
 Today is officially the start of Shark Week!
 I love the Christmas story of Rudolph the Red-Nosed Reindeer. (It’s like the holiday version of The Ugly Duckling.)
 If you follow my blog, you know that I’m all about fun colour, and I don’t often get too excited about neutrals, tans, or nudes.
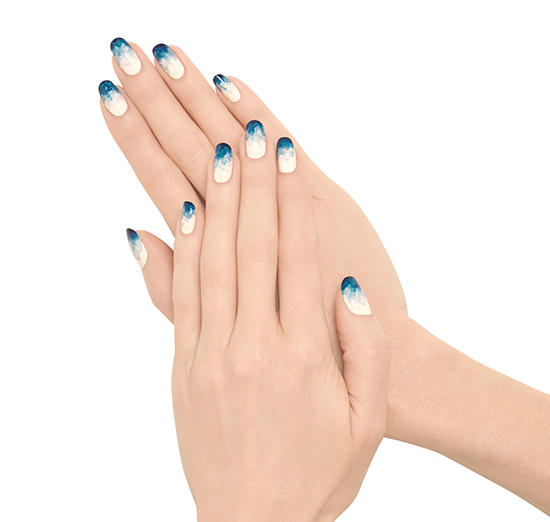